
A good loot is what keeps you going in Free Fire but you don't need to choose the hot drops to get that. Being strategic and defensive will yield bountiful resources along with keeping you alive on the battlefield. All you need to do is to choose a safe place to land for enjoying loot in peace and devising a game plan. We've curated a list of the best places to land on the Free Fire Bermuda map.
Advertisement
Free Fire has three different maps: Bermuda, Purgatory, and Kalahari. The first two come in the ranked mode, so a good drop can actually help you with pushing the rank in the Bermuda map. Sounds nice, right? It's the dream of every Free Fire gamer to level up the rank and reach the "Heroic" or even better, the "Grand Master". Landing in a safe place also gives a player proper time to prepare for the turns of events awaiting ahead.

8 Best Drop Points in the Bermuda Map
Bermuda is one of the most popular maps among Free Fire gamers for its plenty of loot locations. So, most of its places are overcrowded, which you need to avoid if you are new to the game or want to survive longer.
Finding a balance between killing enemies and surviving is crucial for improving rank in Free Fire. Landing spots play a vital role in rendering that balance. This article covers 8 Bermuda map spots where you can get ample loot without engaging in early fights.
1# Cape Town
This town offers an irresistible combination of good loot and safety. Because of its position in a far east corner of the map, not many gamers choose it as the landing spot. It has closely located houses and buildings to roam around and hide from enemies.
Advertisement
Cape Town is a dream spot for all the passive players who want to watch out and start slowly. They will get ample items for a quick loot. Also, the first circle is pretty close to this town. Even if you land a little far, a vehicle will spawn that you can drive to reach the circle pretty soon.
2# Rim Nam Village
Another not usual go-to destination, so defensive players can make the most use of it. The village offers pretty decent loot, allowing you to collect them safely, build the arsenal, and devise a foolproof strategy.
Located at the map's edge, this place is highly safe because here the circle ends up. As the players' goal is to reach the circle, most of them avoid these places.
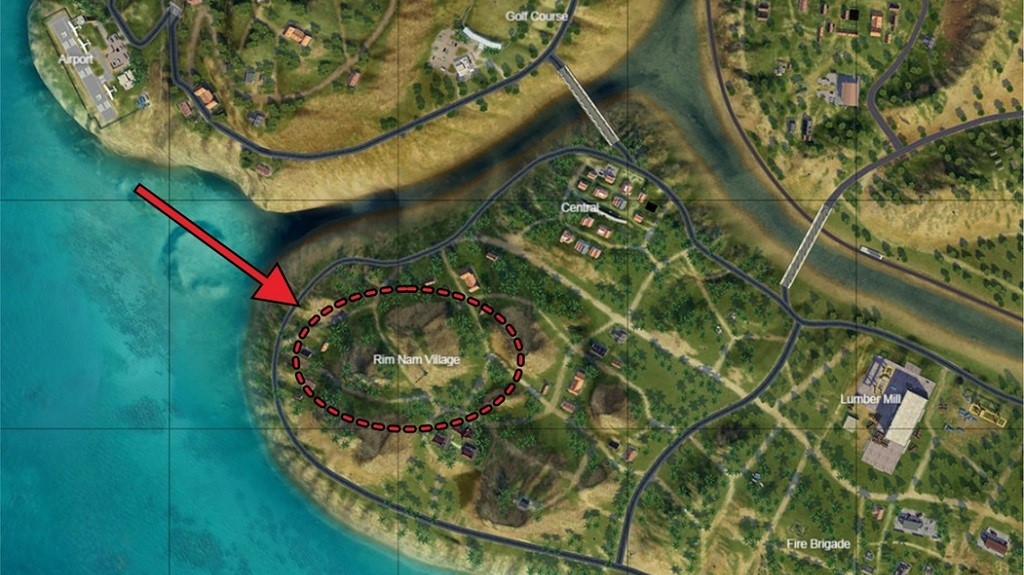
Be quick with your pillaging; otherwise, other defensive players looking for easy loot could target you. After collecting the booty, it will be safe to set off to the Hangar since the Clock Tower could be swarmed with combatants.
3# Mars Electric
Because of this power station's position on the far-south bottom of the Bermuda map, most seasoned gamers avoid Mars Electric, which makes it a safe place for rookies and mid-level players. Also, its vast distance from the center makes it one of the safest spots to land.
Your whole squad can pile up a decent amount of booty, including sniper rifles and sizable armor, without facing much competition.
However, before landing in this area, plan your exit route because this place is faraway from the center. Plus, there should be vehicles available near your dropping spot. Otherwise, doing a rotation in the Play Zone will become difficult.
4# Hangar
Advertisement
You can head to Hangar after escaping the Rim Nam Village or land directly on it. Located on the map's far western side, it's an excellent place for hiding from battlegrounds.
The whole area is quite large riddled with wide terrain and water bodies. If you want to push the rank of your squad, Hangar is a good choice with its sufficient amount of loot gears.
5# Outpost
This is a deserted military base lying on the remote west side of the map. Surrounded by a forest, this highly safe zone is good for collecting LMGs and shotguns.
6# Shipyard
Lying on the north coast, Shipyard is a congested place that offers some of the top-grade gears. You will also get many deadly weapons here.
The only catch is the snipers who will ambush you from the 4 cranes. So, watch out when you are out in the open or near those cranes.
7# Sentosa
If you look at the map's distant southeast corner, you will find an estranged island connected to the mainland with a solitary bridge. This is Sentosa. It's a medium-risk zone tailor-made for players who have passed the initial stages.
Despite being an alienated island, Sentosa is dotted with numerous apartments and buildings, which helps with easy hiding when collecting the booty. You can expect to amass some Level 2 and 3 loot.
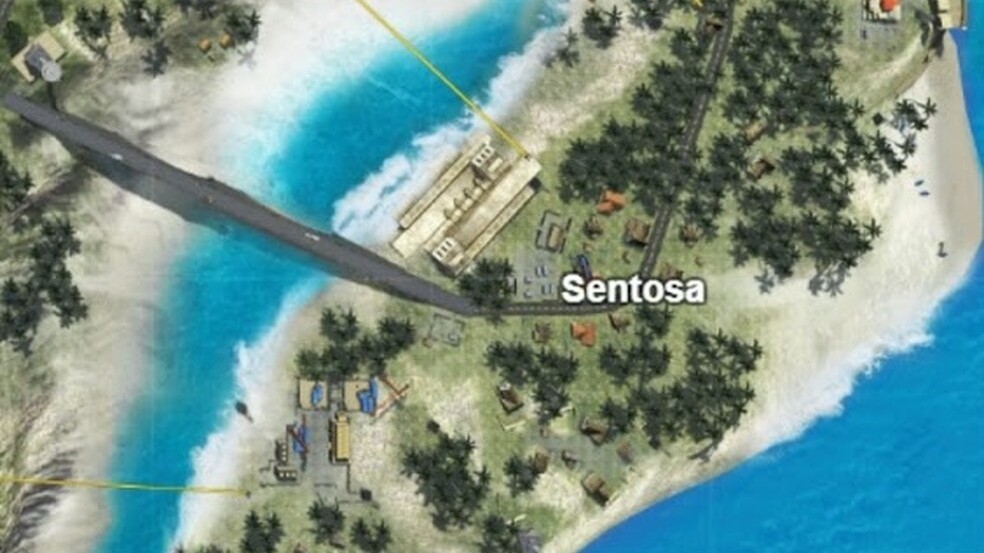
The real challenge is returning to the mainland because the bridge is the only route. Without any vehicle, crossing this bridge will be suicide because you will be an easy target of the snipers. Swimming is another option but it's a slow process.
Upon returning to the mainland, you can head toward Pochinok for another loot or go to the Peak.
8# Pochinok
Advertisement
Another mid-risk dropping location with a sizable amount of loot. There are scads of buildings to pillage and take cover if needed. The only problem is the large size of the buildings that make it difficult to gather the collected items.
Reaching the first circle is not difficult as it encompasses Pochikok. If that does not happen, you can easily get access to a vehicle spawn. A cable car could be a good alternative if you want to reach the Peak unobtrusively.
Conclusion
Picking a drop location solely depends on the skills and preference of an individual player. Some players like to take risks, so they land on hot drops for bigger loot and instant killings. However, if you have just started out in Free Fire, a safe and steady way to push the rank will depend on choosing a dropping spot with fewer enemies and more loot. Our list will cater to those who want to play it safe.